Showing posts with label Art Deco Creations. Show all posts

Tuesday, January 9, 2018

Love and Laugh with Ce' La Vie

Hello everyone and welcome to our creative journey for 2018.
It's fabulous to begin the new year with a new collection and today I have the soon to be released C'est la Vie Collection.
I have made 2 simple layered cards using the 6x6 pad and the ephemera pack focussing on the beautiful neutral tones included in this range. A few layers and a simple greeting and we are ready to spread new years joy!!


I have cut a piece of the fern print from the 6x6 pad, 9.5cm wide x 14cm high.
While trimming the fern print I have utilized an offcut of the striped print from the reverse to create a decorative strip, 9.5cm wide x 1.2cm high.
I have selected the ephemera butterfly, greeting, tag and a large leaf,(cut from a pair).
I also had a chipboard rectangle that I had kept after using the greeting.
You can also trim the ephemera pieces a little further depending on the look you wish to achieve.
 
 
Ink all of your patterned pieces in a neutral tone and shape your butterfly wings.
For the greeting, tag and strip, cut a white layer giving yourself a border around the edges. Distress the edges of the white and attach the pieces as pictured above.
Attach the print to the A6 Cream card base, then the strip 3.7cm up from the bottom edge. 
Attach the tag into the lower left corner with 3d foam and embellish with the leaf, butterfly and greeting.


This is a print from the reverse of the papers that I love. Cut a piece 7.5cm wide x 15cm high.
I have selected the large flower bunch, greeting, tag, large leaf (cut from a pair from the first card)and the decorative medallion (that I have cut in half diagonally).
Again you can trim the ephemera pieces a little further depending on the look you wish to achieve.

 
Ink all of your patterned pieces and the A6 Cream card base in a neutral tone.
 For the base print, cut a white layer 8.5cm wide x 15cm high. Attach the 2 giving you a white border  as pictured and attach to the card base.
For the greeting and decorative medallion, cut and distress the white layers giving yourself a border around the edges. For the tag, cut a cream layer, attaching the 2 with 3d in between.
Attach the 2 sections from the medallion at the top and bottom of the tag as pictured and attach the whole piece to the centre of the card.
Embellish with the leaf, flower and greeting to complete.
 

Until next time, Happy Creating!! Kx
 
Products used to create this project:
C'est la Vie Collection
C0725738 6x6 Paper Pad
C0725739 Ephemera Set (43piece)

Couture Creations and Ultimate Crafts product:
C0723931 A6 Card and Envelope Set Cream
ULT200001 Snow White Card Stock


Wednesday, September 20, 2017

It's Beginning.... with Katrina Thompson

Hello and Welcome everyone. I've begun a new set of Christmas card creations using the beautiful new 'It's Beginning to Look a lot like Christmas" collection designed by Tina Higgins.
There are so many beautiful designs in this paper range. I have found great elements from the 12x12paper pad that card makers can use for design features. Today I have concentrated on the papers with the gorgeous dies and adhesive chipboard shapes.

To make the design features stand out and give the illusion of more layering you will see that I have cut 2 layers with each of the dies, overlapping them just off centre.  This 'shadow' will give more depth to your card, so you will see one layer cut in the feature colour and the other in chocolate to become the shadow layer.


Create a square card base using the Carnelian and Battle Fatigue cardstock. Because this card is larger than 6inches you can't just halve the 12x12. So we create a hinge and by using 2 colours we give it a unique look also.
The finished card is 16.8cm square, so on the Carnelian you cut a panel 16.8 x 18.8 and fold one edge over 2cm to create a hinge to give the Battle Fatigue an area to attach to.
 
Cut a 15.5cm square from the Kahlua to mat the patterned design pictured below. 
 
Cut the 'Christmas' word and the 'holly border' strip from the patterned paper at the top of the picture then cut a strip, as pictured, from the patterned sheet at the bottom of the picture below. Continue on to cut those strips in half as pictured.
 
1. Create the card base. Layer the panels together inking softly around the edges of the patterned panel with a coordinating colour.
2. Cut 3 layers of the Holly Frame Die in Battle Fatigue, Chocolate and Carnelian. Layer -off centre- the Battle Fatigue over the Chocolate and use the berries from the Carnelian for the corners.
3. Cut 2 layers of the Wreath from the Wreathed Wise Men Layering Die in Carnelian and Chocolate. Layer -off centre- the Carnelian over the Chocolate to create the shadow.
4. Attach the Holly strip over the dot/stripe strip pattern so it creates a nice border. Ink the edges to coordinate.
5. Cut the 'Merry' greeting from the 12x12 patterned papers and edge in a red ink.
6. Ink the 'Christmas' greeting in a red and tuck into an offcut from the Holly Frame. 
7. Ink around the edges of the adhesive chipboard panel.
 
Attach the strips overlapping as pictured, 2cm in from the patterned edges.
 
Peel the backing from the adhesive chipboard and tuck it into the frame as pictured, yes it's a little sticky!!, then place the whole piece onto the centre of the card.
 
 Attach the Wreath over the Holly Berry image. Attach the 'Merry' greeting then the 'Christmas' greeting with 3d foam as pictured.
Add some Crystalina Glitin' Glamour and Deep Red 2mm Adhesive pearls to the Berries to finish.
 
Thanks for looking, until next time, Happy Creating!!
 
Products Used:


Wednesday, August 30, 2017

Boho Dreamer

Hello everyone. Today I am sharing with you a card using the new Bohemian Bouquet Collection designed by Denise Boddey. When designing this card I have focused on another colour variation in the beautiful palette that this range brings to you. You will see another of the new dies in action and also the beautiful chipboard designs that compliment this range along with a dash of hot foiling. I hope you enjoy.


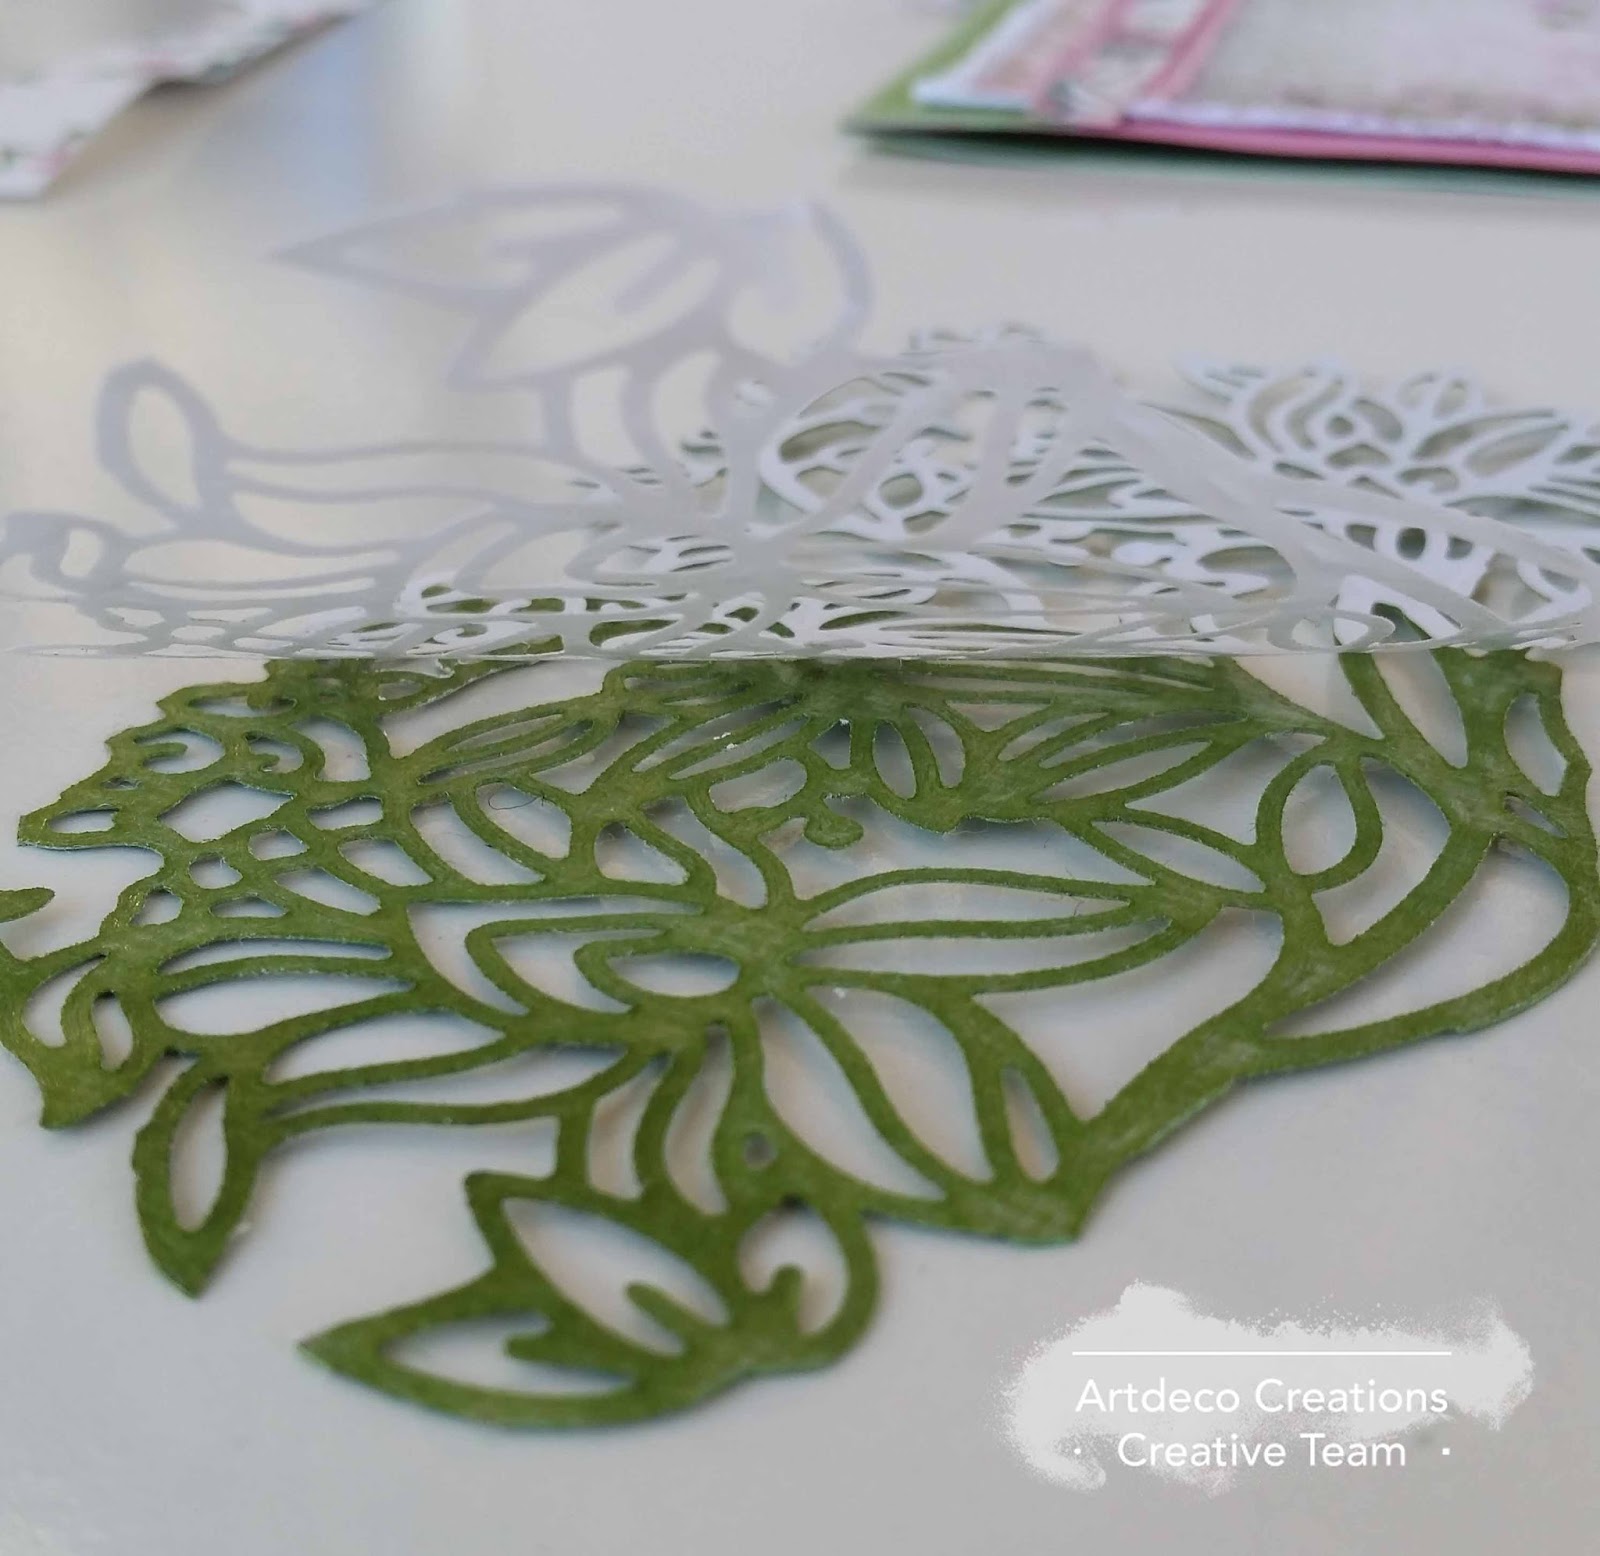
Cut a piece of the Jungle, (green), cardstock to fit the Jungle Background Die. Attach a piece of the Die Cut'n Bond to the back of the cardstock ready for die cutting.

Once die cut, remove a portion of the inner floral section away from the frame.

Using the center doily from the 2 piece Fine Doily Chipboard Set and your Go Press and Foil Machine, I have coloured coordinated the doily with the patterned papers using the Pink Mirror Finish Heat Activated Foils.

Cut the lady and Hope sentiment from the 6x6 paper pad as pictured.

Blot the doily with white ink to give it a mottled appearance. Attach the lady to the Hot Foiled Doily. Dust the die cut with white ink to make it appear cloudy and cut a patterned matt, 10.5cm wide x 15.2cm high, from the 6x6 patterned paper as pictured.

 Cut a selection of the flower elements from the 12x12 patterned paper sheet as pictured.

Tuck the 'Hope' sentiment between the petals and leaves and mount with foam tape behind.

Card Construction: Cut a Snow White matt, 11.3cm wide x 16cm high and distress the edges.
Cut a Precious, (pink) card front 12.5cm wide x 17.5cm high. Ink the edges in white to soften. Cut an additional pink strip, 1.7cm wide x 15.7cm high, ink the edges in white and distress them.
Cut a Jungle, (green) card backing 15cm wide x 17.5cm high. Fold a 2.5cm vertical hinge down the left edge.
Attach the pink and green to form the card base. Overlap the green hinge, butting the pink edge into the fold. 

Attach the Snow White matt as pictured.

Center and attach the patterned paper as pictured. Attach the pink strip along the left edge and cut a 1cm strip from the 12x12 patterned paper to run through the middle.

 Peel away the backing from the Die Cut n' Bond and attach to the card base.


Attach the lady using foam mount tape. Arrange the flower elements around the image to complete.

Thankyou for Looking, Happy Creating!! K


Products Used: