Monday, February 12, 2018

Ooh La La card duo

Hi everyone! Today I am sharing a card set created with the Ooh La La collection. I have showcased the fabulous Framed Art Deco Butterfly Die Set that is great to mix and coordinate with the variety of patterned papers. With the addition of the Ephemera, Lace and Pearls, we're ready for some gift giving. K x

 
Firstly, to cut the die pieces!
Cut 2 squares from the paper pictured, 11.3cm. Cut 2 sets of the Framed Butterfly Die Set.
Using the centre piece of one set, cut the Butterfly. 
Put aside the centre piece from the 2nd set for the next card.
We will use 1 outer frame and the butterfly for this card. The 2nd outer frame is spare.
Note: If you centre the butterfly when you cut it you can save that piece for another project too!
 
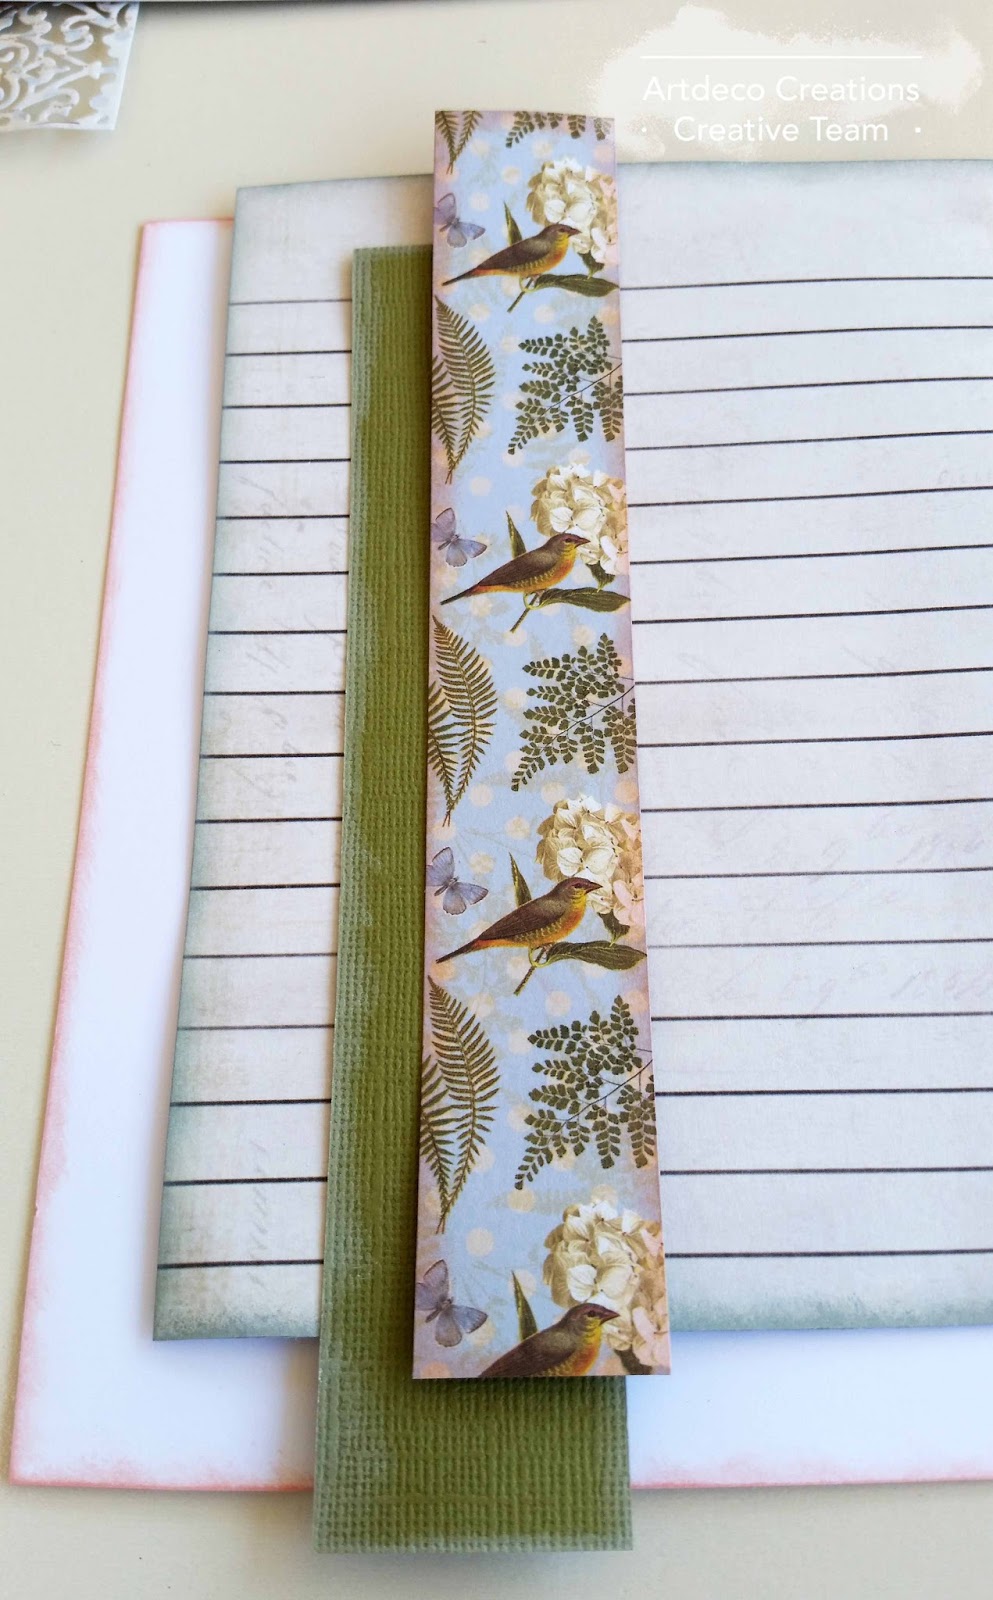
Cut a square 12.5cm using the patterned paper pictured below. Cut the frame, off centre as pictured.
The creamy centre piece is going to be inserted into the frame from the set we cut above and the centre piece from above, that we put aside, is going to be inserted into the frame below.
Mix and match!
 
 Cut a piece of Cinnamon card 14.2cm wide x 28.5 long. Ink the edges in a coordinating colour.
Cut a piece of Kahlua card 12cm square.
Cut out the Happy Birthday greeting from the ephemera and cut 2 layers from the papers pictured in 2mm increments. Ink the edges.
Die cut the 2 mini flourishes in the die set from the Paper Bag cardstock and ink to blend also.
 
 If you like a sentiment but it may not fit your design, cut and layer the greeting to create your own.
 
Score and fold the Cinnamon card to create a square card base.
Layer the 3 greeting pieces with 3d foam.
Attach the combined die cuts to the Kahlua square and layer the lace around the edges, secured well from behind.
 
Attach the layered lace panel to the base card, centre the butterfly and attach your greeting and flourishes as pictured. 
Embellish with pearls to finish.
 
Cut a piece of Cinnamon card 14.2cm wide x 28.5 long. Ink the edges in a coordinating colour.
Cut a piece of Paper Bag card 13cm square.
Cut a butterfly from the patterned papers as pictured.
Select a greeting from the ephemera set.
Mix and combine the die cuts from the first 2 steps. 
 
Score and fold the Cinnamon card to create a square card base.
Attach the combined die cuts to the square and attach the layered panel to the base.
 
Attach the ephemera greeting to the decorative panel with 3d as pictured and offset the butterfly. 
Embellish with pearls to finish.
  
Products used to create this project:
 
Ooh La La
Couture Creations
 
Until next time Happy Creating!! K x
 

Friday, February 9, 2018

Journal Card by Katrina Thompson

Hello everyone and thankyou for taking the time to see what crafty goodness we have for you today.
I am playing with the beautiful new C'est la Vie collection which is arriving into stores right now.
I have made a decorative card using the papers, ephemera, decoupage sheets and dies but I have also carried the theme through to the inside, using one of the great 12x12 patterned papers with writing lines, turning your project from a greeting card to a journal card. Fill it with a memory or gift it as a special letter to a friend.


As pictured below from the 6x6 paper pad, cut the floral piece 7.5 x 12.5cm.
Trim around the 'Life is Beautiful' sentiment.
Cut a base overlay from the 12x12 patterned paper bird print 15cm x 17.8cm. Score the left edge over at 2.3cm creating a spine overlap.
Ink all pieces in a coordinating colour. 
 
Cut the Rosy Frame from the pink card and the Baroque Background from the cream print in 12x12 patterned papers.
 
Pop a rose and leaf print from the Decoupage sheet. Ink around the edges in a coordinating colour and shape them slightly to give them some body.
 
Select the blue butterfly from your Ephemera pack. I have trimmed the edges to get a sharper look. Trim up between the wings also, this will allow you to give the wings some movement and makes them easier to shape.
 
Create a full base card cut from the Snow white, 25.5 x 17.8cm. Score and fold giving you a finished card front 12.7 x 17.8, (5x7 inches).
Cut the writing lines from the 12x12 patterned papers, 24.5 wide x 16.5cm high.
Cut a strip from the Battle Fatigue, 3.3x17.3cm and the patterned strip, 2.7x17.8cm.
 
Ink all the layers and attach as pictured below.

 
On the card front, overlay your printed piece cut in Step 1. Wrap the overlap around the spine and glue onto the back.
Pop 2 eyelets in as pictured then attach 3D foam or board behind each large layer.
Attach a layer of pink muslin behind the sentiment, then add a layer of 3D foam.  
 
For the focal piece - Centre and attach the Rosy frame to the floral piece.
Attach the Decoupage rose into the bottom left corner creating a larger bunch of flowers then attach the set of leaves so they overhang at the bottom. Attach the blue butterfly elevating the wings.
Attach the Baroque piece to the base, the floral focal on top then arrange the sentiment.
Thread the seam binding through the eyelets and tie off to complete.


C'est la Vie
Until next time, Happy Creating!! K x
 
Products used for this project
 
C'est laVie Collection:
Couture Creations:
Let Every Day Be Christmas:
 
Additions: Eyelets, muslin and seam binding.


Monday, January 22, 2018

C'est la Vie Box Card with Katrina Thompson

Hello and Welcome everyone. Thankyou for taking the time to look today. I am using the new release C'est la Vie Collection and have made a box card to showcase all the beautiful papers, diecuts and ephemera. You can adapt this card to any sizing so there are a lot of photos with ideas of how to mix and match the pieces to complete your own projects.


I have chosen this beautiful sheet as the borders look great for the outer look of the box.
Fold into thirds, score and cut out the 4 corners.
 
The corners will become the decorations for the inside.
 
Ink around all the edges of your framing in a coordinating ink to blend.
Cut each of the rose prints from the corners, as pictured above, ink the edges and mount onto squares of Cherry Cola cardstock. Place the pieces to gauge the spacing.
 
I have added a border of lace around the edges of the squares to give some texture and dimension.
 
Once you have all of your pieces layered attach to the box base.
 
Select all of the pieces you wish to incorporate from the Decoupage sheets and the Ephemera. Trim and ink the edges to suit.
 
Use the pieces above to layer onto your squares, creating scenes.
Shape you leaves and use 3d foam tape to give dimension to your pieces.


To create your lid I have taken a section from the 12x12 print that measures 6 inches.
 
Your square sections in this project are 4 inches. The lid needs to be a few mills wider so it will fit over the box when folded. This applies to any box card size you complete.
Score a square into the centre of your piece just a fraction larger than 4 inches.
Fold the edges over. For the corners pinch a valley, (inverted) fold as pictured. When pinched together your corners will then come together. Secure the flap on the inside.
 
 
Ink around the edges to blend and decorate.

 
Until next time Happy Creating!!
 
Products used to create this project.
C'est la Vie Collection:
 
Couture Creations products:
 

K x


Friday, January 19, 2018

Life is Beautiful with C'est la Vie


Hi everyone. In my last post I chose to showcase a few of the neutral tones of this beautiful new C'est la Vie collection. Today I have gone with more colour, focussing on the roses and foliage and the amazing base sheet that is just ready for some trimmings. This is a really simple page and incorporates the patterned paper, decoupage sheet, chipboard and ephemera. You can bulk it up or leave it fairly flat so it can still fit into a sleeve.
  
 
Take a selection of ephemera and decoupage pieces. Ink in a coordinating colour and give shape to the leaves and petals.
 
Ink around the edges of the 12x12 patterned paper.

 
I wanted a soft colouring to for the chipboard. Lightly coat with gesso, let dry then dab layers of ink to coordinate. Use dark colours as they soak in and lighten. It will give you a mottled stone look.
 
 
Start to layer each of your pieces as pictured.

After you've got your ephemera and chipboard in place I have tucked some muslin in and around the foliage to give it a subtle lift and some more texture. This is optional.

Until next time Happy Creating! K
 
Products used to complete this project:
C'est la Vie Collection
 

K x 


Tuesday, January 9, 2018

Love and Laugh with Ce' La Vie

Hello everyone and welcome to our creative journey for 2018.
It's fabulous to begin the new year with a new collection and today I have the soon to be released C'est la Vie Collection.
I have made 2 simple layered cards using the 6x6 pad and the ephemera pack focussing on the beautiful neutral tones included in this range. A few layers and a simple greeting and we are ready to spread new years joy!!


I have cut a piece of the fern print from the 6x6 pad, 9.5cm wide x 14cm high.
While trimming the fern print I have utilized an offcut of the striped print from the reverse to create a decorative strip, 9.5cm wide x 1.2cm high.
I have selected the ephemera butterfly, greeting, tag and a large leaf,(cut from a pair).
I also had a chipboard rectangle that I had kept after using the greeting.
You can also trim the ephemera pieces a little further depending on the look you wish to achieve.
 
 
Ink all of your patterned pieces in a neutral tone and shape your butterfly wings.
For the greeting, tag and strip, cut a white layer giving yourself a border around the edges. Distress the edges of the white and attach the pieces as pictured above.
Attach the print to the A6 Cream card base, then the strip 3.7cm up from the bottom edge. 
Attach the tag into the lower left corner with 3d foam and embellish with the leaf, butterfly and greeting.


This is a print from the reverse of the papers that I love. Cut a piece 7.5cm wide x 15cm high.
I have selected the large flower bunch, greeting, tag, large leaf (cut from a pair from the first card)and the decorative medallion (that I have cut in half diagonally).
Again you can trim the ephemera pieces a little further depending on the look you wish to achieve.

 
Ink all of your patterned pieces and the A6 Cream card base in a neutral tone.
 For the base print, cut a white layer 8.5cm wide x 15cm high. Attach the 2 giving you a white border  as pictured and attach to the card base.
For the greeting and decorative medallion, cut and distress the white layers giving yourself a border around the edges. For the tag, cut a cream layer, attaching the 2 with 3d in between.
Attach the 2 sections from the medallion at the top and bottom of the tag as pictured and attach the whole piece to the centre of the card.
Embellish with the leaf, flower and greeting to complete.
 

Until next time, Happy Creating!! Kx
 
Products used to create this project:
C'est la Vie Collection
C0725738 6x6 Paper Pad
C0725739 Ephemera Set (43piece)

Couture Creations and Ultimate Crafts product:
C0723931 A6 Card and Envelope Set Cream
ULT200001 Snow White Card Stock